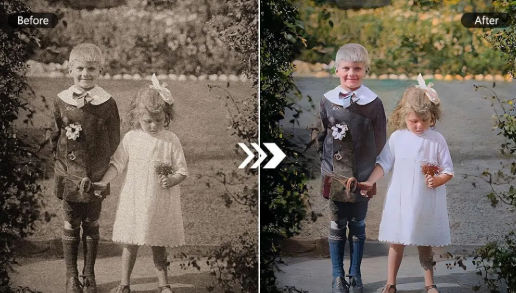
Choosing the right DPI when scanning film negatives is one of the most important decisions in the digitization process. DPI or dots per inch determines how much detail is captured from your original negative and how flexible that digital file will be in the future.
Too low, and you limit print size and editing options. Too high, and you create massive files with little real-world benefit.
Today, we break down the practical differences between 2000, 3000, and 4000 DPI, explain how film and scanner technology affect results, and help you choose a resolution to convert negatives to digital.
What Does DPI Mean in Film Negative Scanning?
In film scanning, DPI refers to how densely a scanner samples the physical negative. Unlike digital cameras, scanners mechanically capture what already exists on film.
Key points to understand here are that:
- DPI is not the same as image quality on its own
- Higher DPI means more sampled data, not added detail
- The usable detail is limited by the film stock and scanner optics
DPI determines how large and how cleanly you can reproduce an image, whether on a screen or in print.
See also: Fashion Product Developer and Tech Designers
DPI vs Resolution vs Image Quality
These terms are often used interchangeably, but they are not the same.
- DPI: Sampling density during scanning
- Resolution: Pixel dimensions of the final file
- Image quality: Influenced by focus, grain, exposure, and cleanliness
Scanning at a higher DPI cannot correct blur, motion, or poor exposure. It only captures what the negative already contains.
How Much Detail Is Actually in a 35mm Film Negative?
The amount of usable detail in a 35mm negative depends on several variables:
- Film stock (consumer vs professional emulsions)
- Camera lens quality
- Focus accuracy
- Grain structure
- Scanner optical resolution
Most modern studies and lab testing show that typical 35mm film contains the equivalent of roughly 3000 to 4000 DPI of usable detail under optimal conditions. Scanning beyond that range often produces larger files without meaningful gains.
DPI Options Explained: 2000 vs 3000 vs 4000
#1 2000 DPI
Scanning at 2000 DPI is well-suited for basic digitization projects where images will primarily be viewed on screens.
Best use cases include:
- Viewing on computers, phones, and TVs
- Email sharing and online storage
- Small prints up to approximately 5 × 7 inches
Advantages:
- Smaller file sizes,
- Faster scanning times,
- Lower storage requirements.
#2 3000 DPI
For many people, 3000 DPI offers the best balance between image quality and practicality. This resolution captures:
- Finer-grain detail
- Better tonal transitions
- More flexibility for future use
Recommended for:
- Long-term photo archiving
- Prints up to approximately 11 × 14 inches
- Light to moderate editing and cropping
Professional scanning technicians often recommend this range because it preserves detail without creating unnecessarily large files.
#3 4000 DPI
4000 DPI represents the upper end of practical scanning for 35mm negatives. This resolution is appropriate when:
- Large-format printing is required
- Images will be used commercially or editorially
- Maximum archival flexibility is desired
Capabilities include:
- Prints of 16 × 20 inches or larger
- Greater latitude for cropping and retouching
For older or lower-quality film, the difference between 3000 and 4000 DPI may be subtle.
DPI vs Print Size: What Can You Actually Produce?
Understanding how DPI translates into output helps avoid over- or under-scanning.
| Scan DPI | Primary Use Case | Print Size Without Quality Loss |
| 2000 DPI | Digital viewing | Up to 5 × 7 |
| 3000 DPI | Archival & home printing | Up to 11 × 14 |
| 4000 DPI | Professional use | 16 × 20 or larger |
These estimates assume proper exposure, focus, and clean negatives.
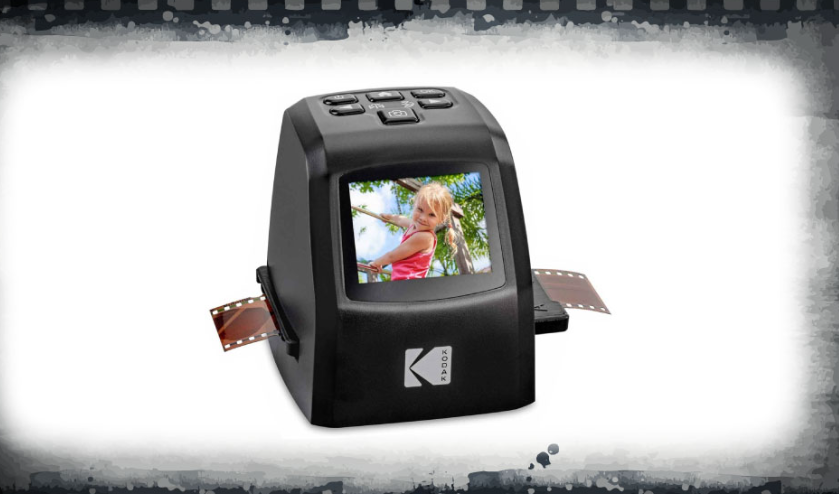
How Scanner Technology Influences DPI Results
Flatbed Scanners vs Dedicated Film Scanners
Not all scanners deliver true optical resolution. Flatbed scanners:
- Convenient for mixed media
- Often limited by optics and film holders
- May not fully resolve high DPI scans
Dedicated film scanners:
- Designed specifically for negatives
- Better lens systems and alignment
- More consistent results at higher DPI
True optical resolution matters far more than advertised DPI numbers.
What Is The Role of Digital ICE and Automated Corrections?
Modern scanning workflows rely heavily on Digital ICE technology, which uses infrared scanning to:
- Detect and remove dust particles
- Minimize minor scratches
- Improve color consistency
A clean negative scanned at a moderate DPI often looks better than a dusty negative scanned at a higher DPI. Cleanliness and calibration are critical to maximizing usable detail.
How To Choose the Right DPI Based on Your Goals?
#1 DPI Recommendations for Family Photo Archives
- Prioritize long-term flexibility.
- Expect future reprints or enlargements.
- Recommended DPI: 3000
#2 DPI Recommendations for Film Photographers
- Balance detail and manageable storage.
- Preserve grain and tonal nuance.
- Recommended DPI: 3000 to 4000
#3 DPI Recommendations for Professional or Commercial Use
- Plan for large prints and repurposing
- Avoid rescanning later
- Recommended DPI: 4000
Key decision factors:
- Intended print size
- Editing and cropping needs
- Storage capacity
- Long-term reuse potential
Closing Thoughts
There is no universal “best” DPI for scanning film negatives. The right choice depends on how you plan to use your images today and how you may want to use them years from now.
- 2000 DPI works for basic viewing
- 3000 DPI suits most archival needs
- 4000 DPI offers maximum flexibility for professional use
Understanding these differences helps you scan once and scan right.